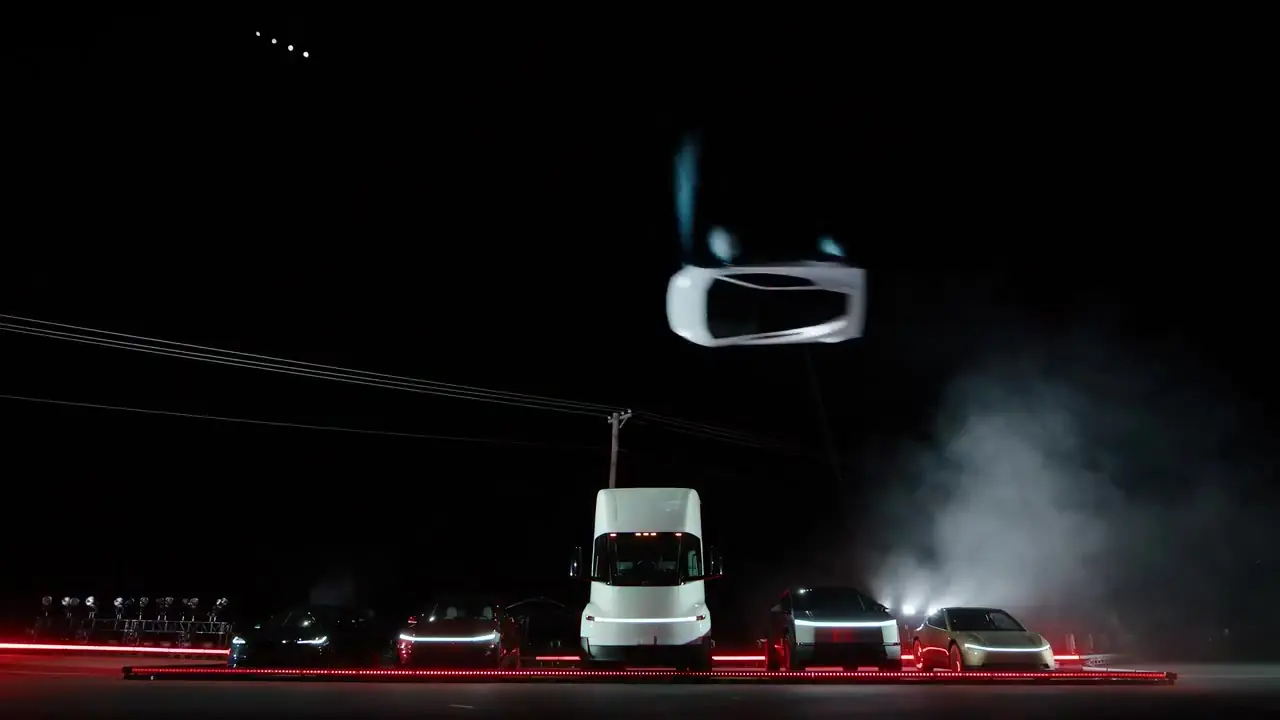
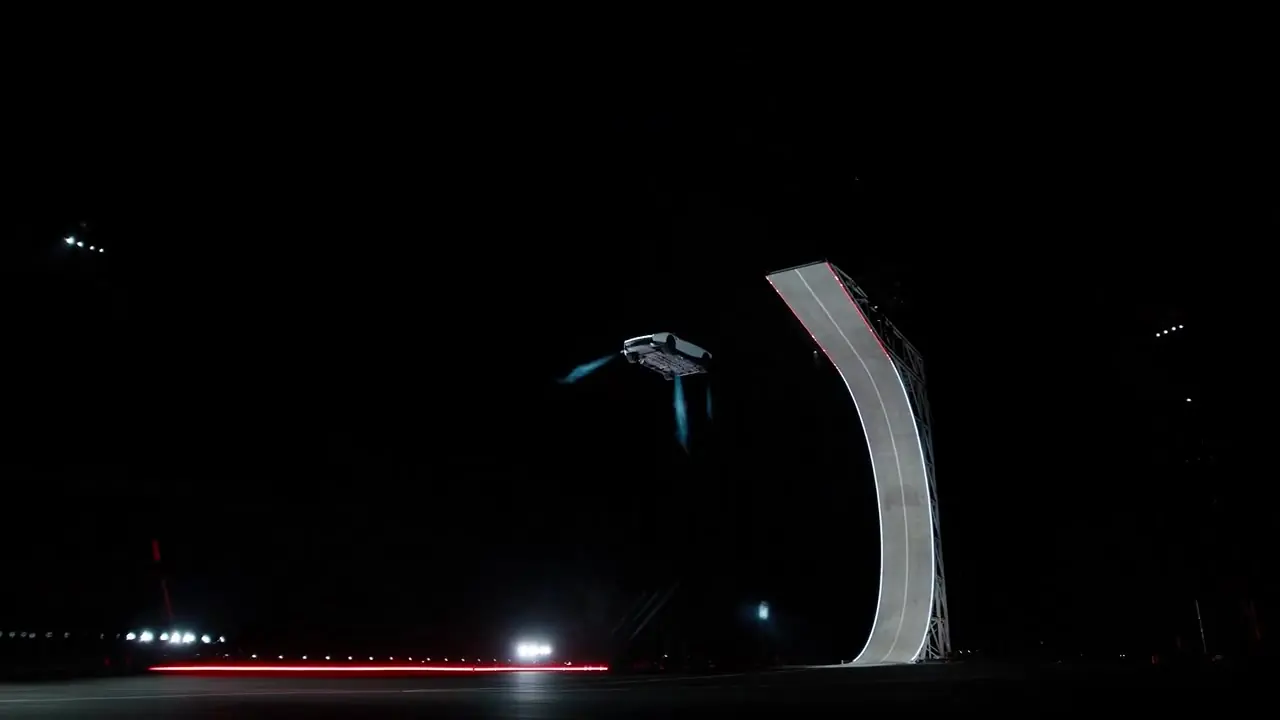
How to Make an AI Flying Car Video: Step-by-Step Guide
Make an AI flying car video from one car photo: pick the right picture, choose a Tesla Roadster-style stunt, set 9:16 for TikTok, then add music and post.

4 min read
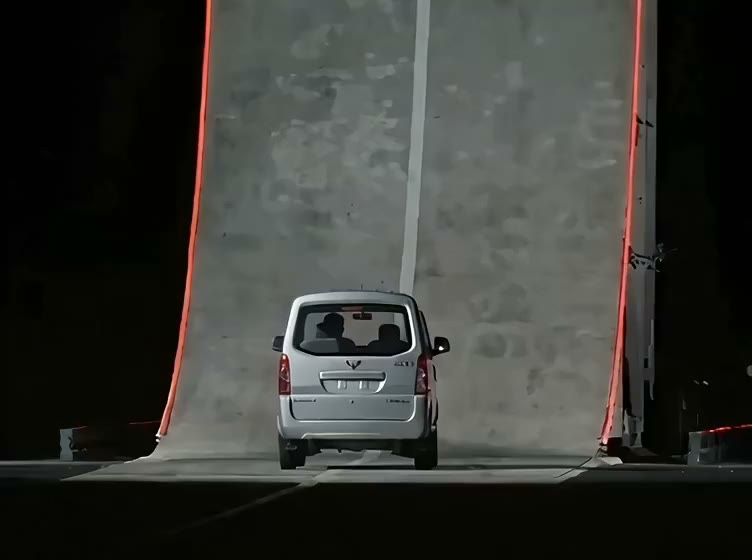
An AI flying car video takes a photo of your own car and puts it into a stunt (a ramp jump, a mid-air kickflip, a landing in a cloud of vapor) modeled on the Tesla Roadster demo everyone is sharing. You don't need editing skills, and you don't need to write a prompt. This guide walks through every step, plus the small choices that separate a clip that looks great from one that looks off.
What you need
- One photo of a vehicle. Your car, a friend's car, a bicycle, even a carriage. JPG, PNG or WebP, up to 10 MB.
- Permission to use it. Only upload photos you took or have the right to use, and don't upload pictures of people without their consent.
- Some credits. Each video is paid for with credits from a one-time pack, with no subscription. 720p uses more credits than 480p, and if a render fails, the credits go back to your balance automatically.
Step 1: Pick the right car photo
The photo does most of the work, so it deserves thirty seconds of care.
What works best
- The whole car in frame, including every visible wheel. When the bumper or the wheels are cut off, the model has to guess, and those guesses show up halfway through the flip.
- A side or three-quarter view. These angles show the shape, the wheels and the paint at the same time.
- Even, natural light. Overcast daylight is ideal. Avoid harsh midday shadows and night shots with strong glare.
- A sharp, uncluttered image. No heavy filters, stickers or text on top. A plain background helps but isn't required.
What to avoid
Close-ups of a single detail, photos taken through a windshield, heavily edited images and pictures where another vehicle overlaps yours. These tend to produce warped bodies or the wrong colors.
Step 2: Choose a stunt template
Every template comes with its own reference clip and a built-in prompt, so all you choose is the stunt. There are nine, in four styles:
- Ramp: the complete curved-ramp climb, flip and landing, plus a wide view, a thruster close-up and an overhead replay.
- Kickflip: the car rises above a row of parked vehicles and rolls once, seen from the side, head-on or from trackside.
- Track Mode: a studio-style transformation with a lower ride height and aero panels, without any flight.
- Viral square edit: a short, punchy cut made for social feeds.
Watch the reference clips in the template gallery before you decide. If you're unsure, start with the complete ramp stunt or the head-on kickflip; both read clearly even on a small phone screen. For a closer look at each style, see the nine flying car AI templates explained.
Step 3: Set quality and framing
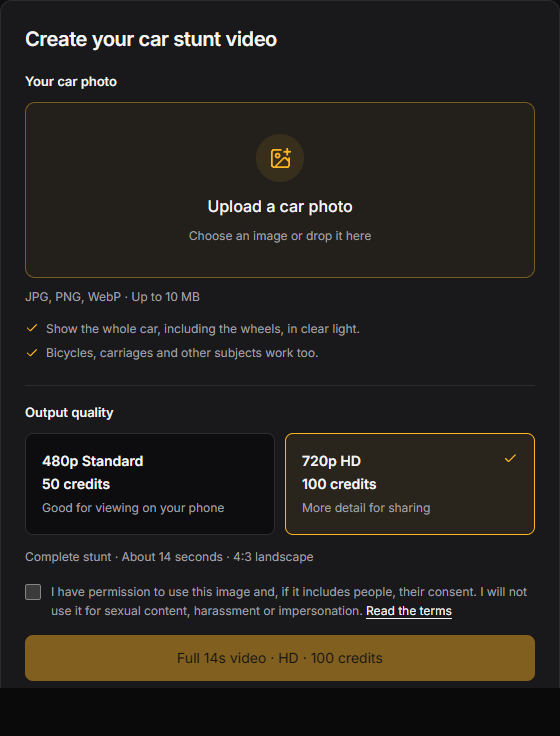
Two settings matter here:
- Quality: 480p or 720p. 480p is fine for a quick test or a story that disappears after a day. Choose 720p for anything you plan to keep on your main feed.
- Framing: original or vertical 9:16. The original keeps the template's own composition. Vertical 9:16 is made for TikTok, Instagram Reels and YouTube Shorts, so you don't have to crop afterwards and risk cutting the car out of the shot.
The length depends on the template, from about 6 to 15 seconds.
Step 4: Generate and download
Confirm that you have the right to use the photo, then start the render in the AI flying car generator. You can stay on the page or come back later, because videos in progress and finished videos are listed under My creations. When the video is ready, preview it and download it as an MP4 without a watermark.
If the render fails, your credits are refunded automatically. If the result looks off, the fix is usually a better photo (see Step 1) rather than a different template.
Step 5: Add music and post
The downloaded video is silent. That is deliberate: social platforms let you add trending sounds, and a clean file gives you full control. Open it in TikTok, Reels, CapCut or any video editor, add music or engine sounds, and post.
Two posting tips:
- Label it as AI. Most platforms have an AI-content label, so use it, or add "AI-generated" to your caption. It's honest, and it heads off the "is this real?" debate in your comments. Curious about the original? Read whether the Tesla flying Roadster video is real or AI.
- Put the stunt first. Trim any slow lead-in so the jump happens in the first two seconds.
Common mistakes to avoid
- Uploading a cropped photo. Missing wheels are the most common cause of strange results.
- Picking the original framing for TikTok. Choose vertical 9:16 before you generate, not after.
- Expecting sound. Plan to add audio in your editor.
- Submitting again while a video is still processing. Wait for the first render, and check My creations instead of clicking generate again.
- Using someone else's photo without permission. Stick to cars you own or photos you have the rights to.
That's all it takes: one photo, one template and two settings, and your own Tesla Roadster AI-style stunt is ready to share. Make your AI flying car video now.
Videos made with AI Flying Car are AI-generated remixes, not real footage. AI Flying Car is an independent tool and is not affiliated with Tesla or SpaceX.
Back to blog